How to Cut Planner Inserts
In this blog post, we will share two simple methods for cutting planner inserts. This guide would be useful for those opting to print planner inserts on US Letter or A4 paper. We recommend printing directly on pre-cut planner insert paper to save time and will be making a guide for that in the near future.
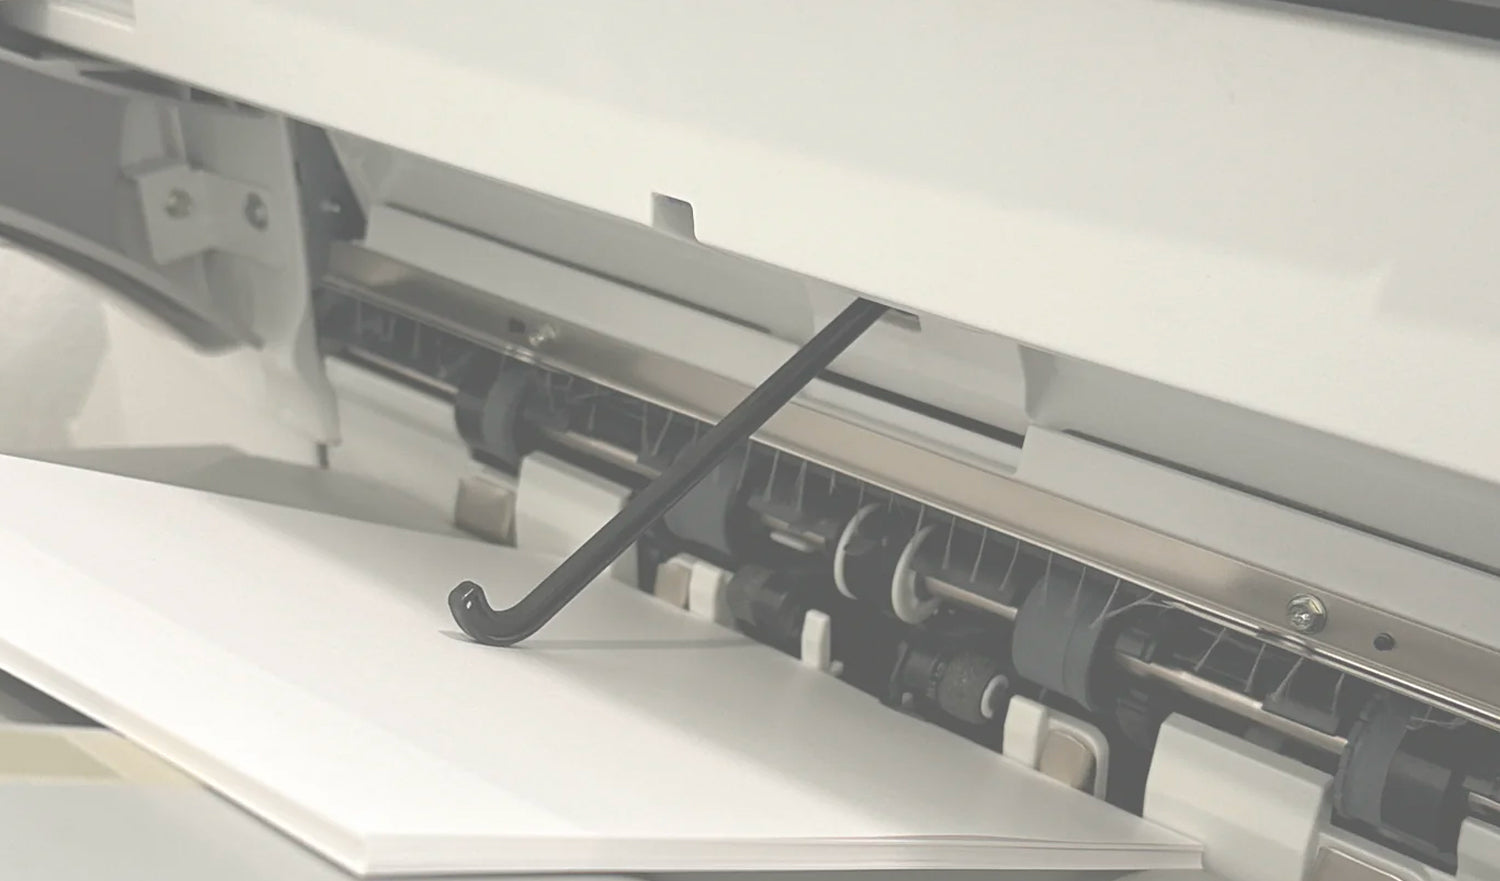
Method 1: Xacto Knife & Paper Trimmers
Required Tools:
Set 1: Xacto knife, Non-slip ruler and Cutting matt OR Set 2: Paper Trimmer with lifting blades
- Step 1: Make all vertical (blue) cuts using trim marks as guides. Ensure to not cut all the way across the paper.
- Step 2: Make all horizontal (red) cuts using trim marks as guides

Method 2: Guillotine & Paper Trimmers
We recommend this method for cutting large quantities of planner inserts.
Required Tools: Guillotine or Paper Trimmer
Important: Always ensure your paper is completely against the top of your guillotine/trimmer to avoid slanted cuts. This also allows you to cut using only one trim mark instead of needing both trim marks across.
- Step 1: Cut across CUT 1 (Red) using the top horizontal trim marks as guides. Cut across CUT 2 (Pink) using the middle vertical trim marks as guides.
- Step 2: After the first 2 cuts you should have two parts of the sheet(s). The left sheet(s) should be flipped horizontally so that the “8LOTUS” logo is on the left side.
- Step 3: Using the ruler attached to your guillotine or trimmer, align to the width measurement of your insert to make CUT 3 (Blue). Alternatively, you can use the remaining vertical trim mark as a guide.
- Step 4: Turn the sheet(s) counterclockwise (the logo should be at the bottom ). Using the ruler attached to your guillotine or trimmer, align to the length measurement of your insert to make CUT 4 (Green).

Other types of Trim Marks
We refrain from using the "trim marks" depicted in the image below due to it's intrusive effect on the design. Utilizing such trim marks would necessitate trimming 1 – 3 mm into the design to prevent the trim marks from being visible on your inserts. This will depend on the accuracy of alignment between your front and back pages. As that standard home printers lack registration sensors and cannot achieve close to perfect alignment, we use industry-approved trim marks to maintain consistency and minimize additional effort during the cutting of inserts.

Thank you for tuning into our blog post, we hope some of these tips were of value to you. This post will receive ongoing updates to ensure it contains the most up to date information. If you have any tips for cutting planner inserts at home feel free to share them in the comment section below!

Written by 8Lotus Boutique